//ArrowChat Code

View Poll Results: Was this thread helpful?

Voters
6. You may not vote on this poll
  • Yes most certainly it is.

    4 66.67%
  • This is overkill.

    1 16.67%
  • I always use vicegrips to remove brake caliper pistons.

    1 16.67%
  • This doesn't help me at all.

    0 0%
Results 1 to 5 of 5

Thread: Yamaha Tri-Z YTZ250 Front/Rear Caliper Rebuild Process

  1. #1
    Join Date
    Aug 2005
    Location
    Lockport, NY
    --
    2,395

    Yamaha Tri-Z YTZ250 Front/Rear Caliper Rebuild Process

    This is just one of a many I hope to come of this type of thread. I wanted to do a write up on how I rebuild my calipers. So many guys seem to struggle when it comes to rebuilding calipers. This is how I do it.

    PART I :

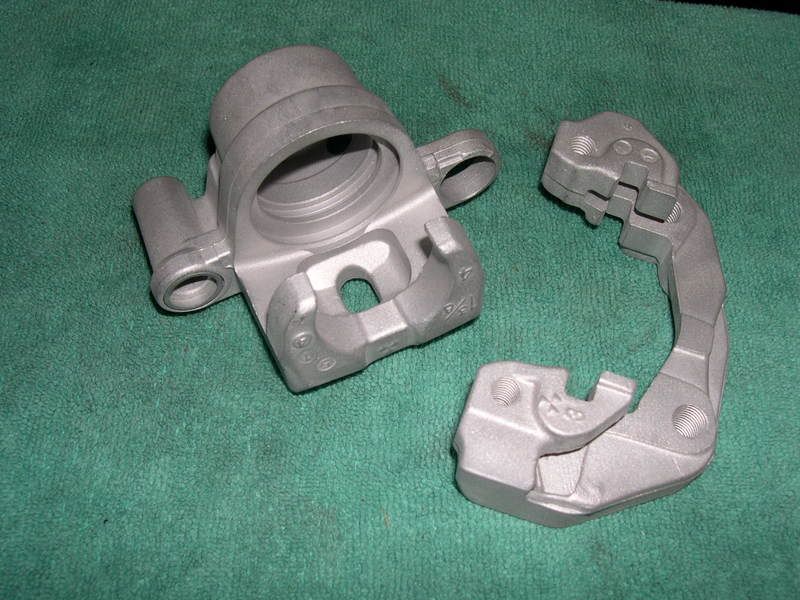
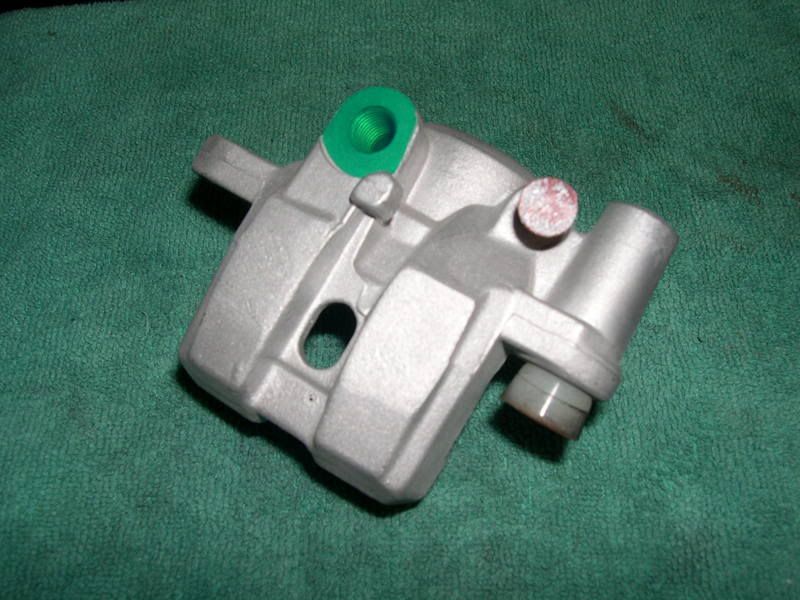
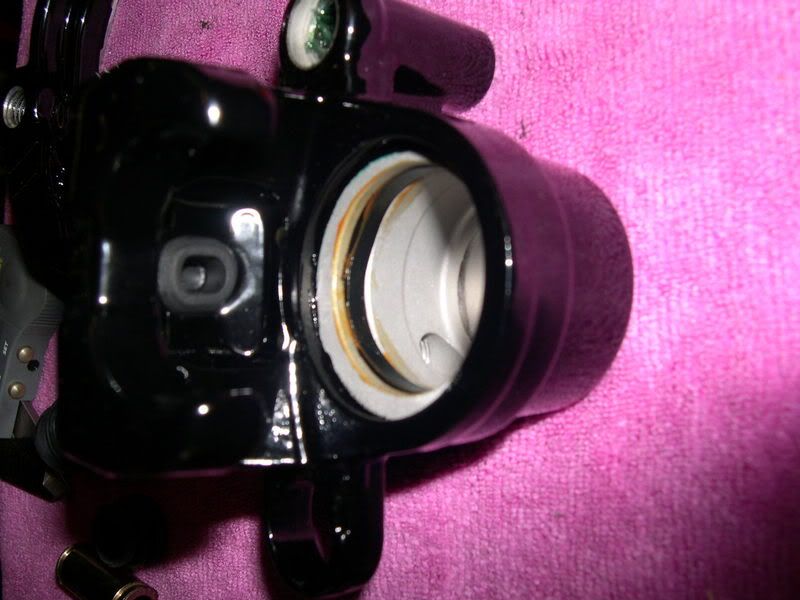
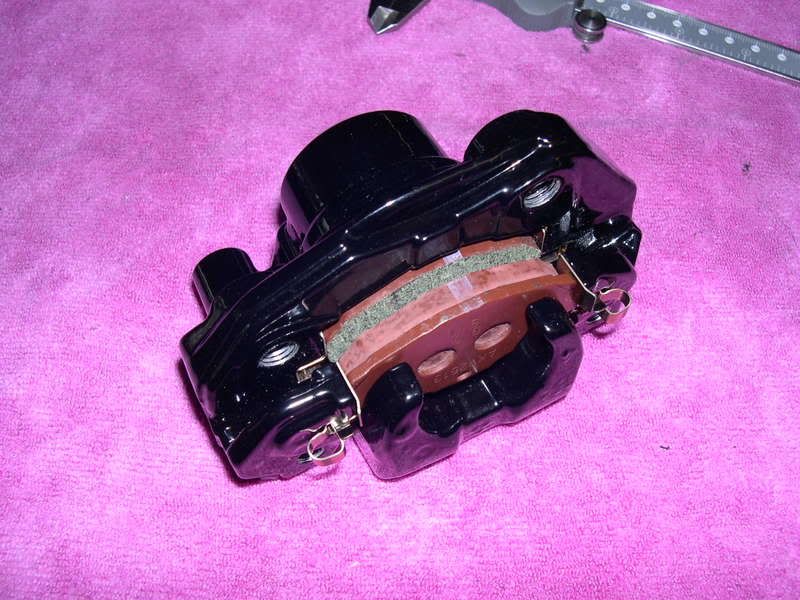
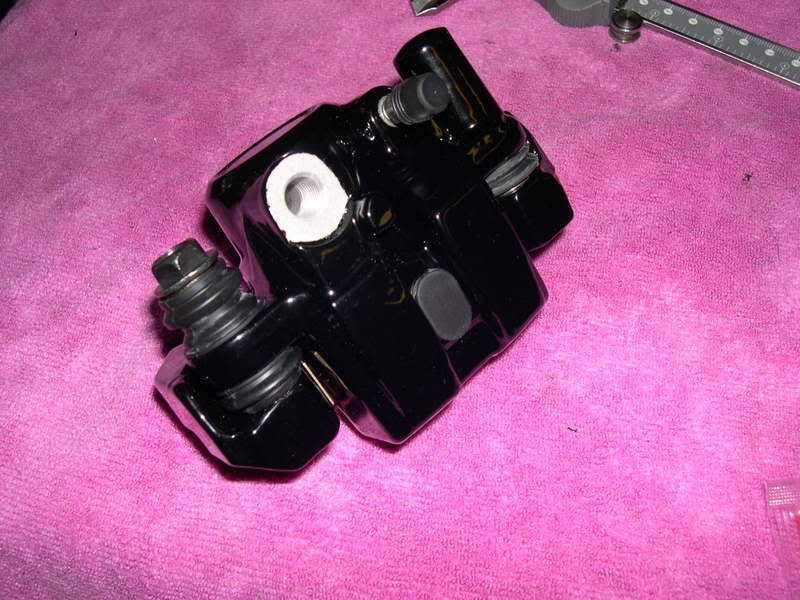
    Like most calipers on our trikes they are old,beaten,battered and almost always never working when you pick up a trike. Pistons are seized. Bleeders are snapped off. Etc. Most of them look like this


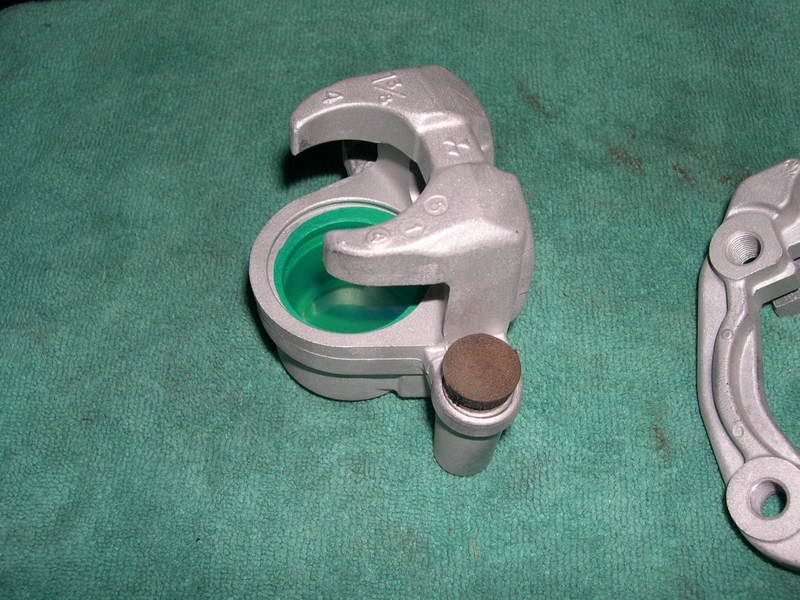
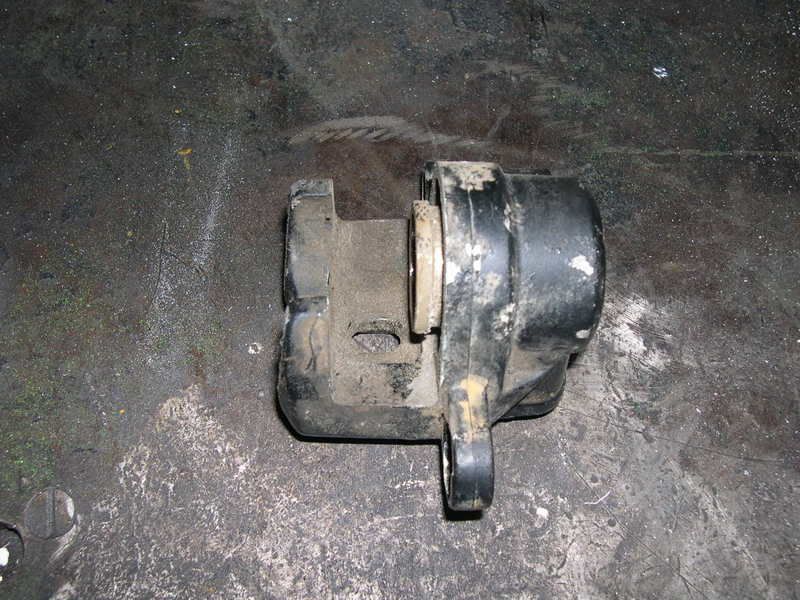
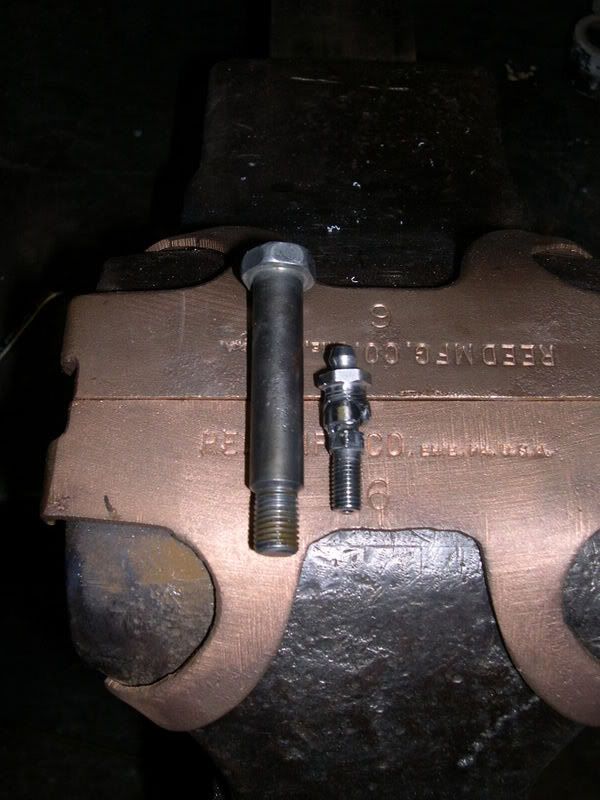
    When I recieved this caliper it was indeed in sad shape. Luckly the bleeder was not froze in the caliper and it came out without a fight. However the piston was frozen solid!!! So what I do is force them out with grease. Thus utilizing the force of hydraulic pressure. This can be done with your old grease gun in the garage. I simply take the old bleeder and cut the head off of it and weld a grease zerk on the end. Then I just use an old bolt to block of the hole where the brake line gets bolted to the caliper.

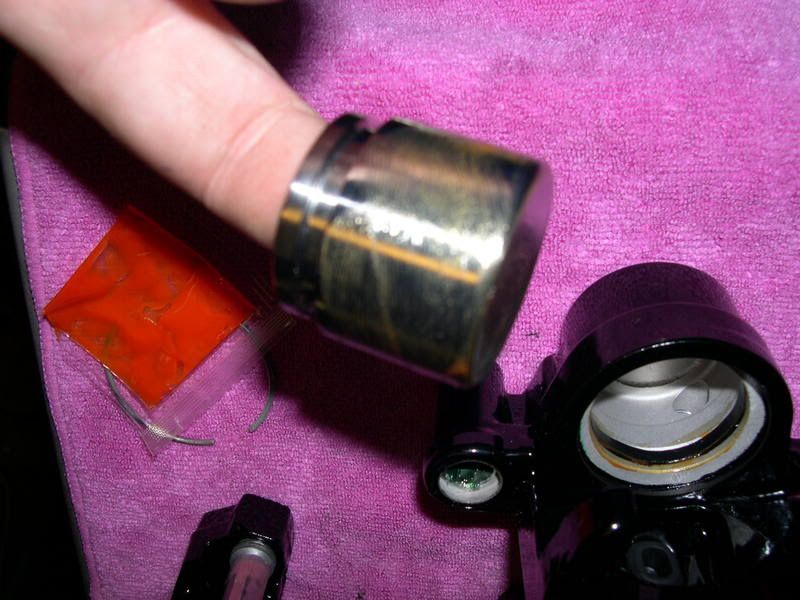
    Brake fitting and spare bolt


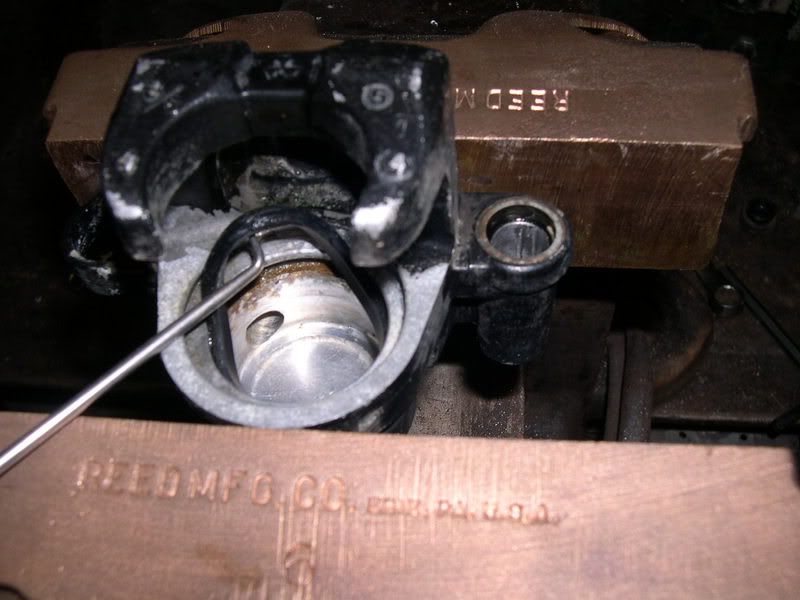
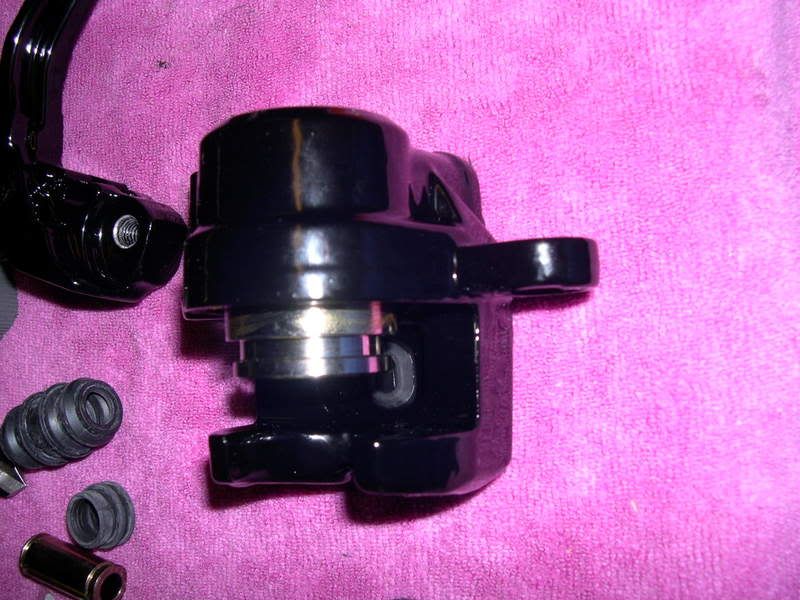
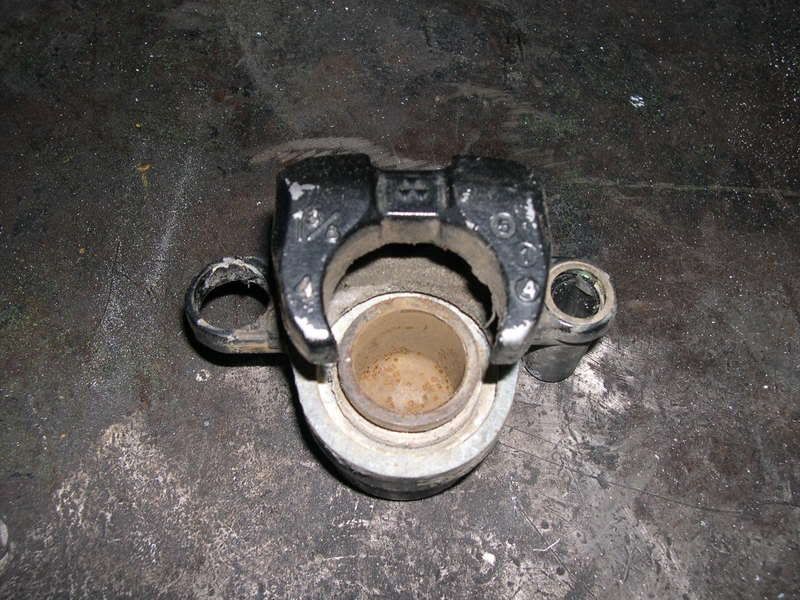
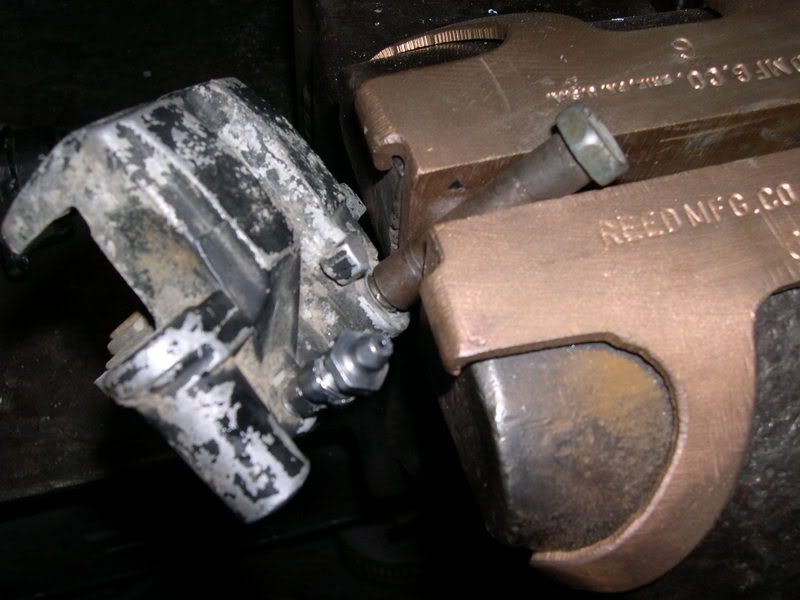
    Mounted up in the vise ready for the removal of the piston.


    To be continued.......
    Last edited by honda250sx; 01-06-2009 at 02:12 PM.

  2. #2
    Join Date
    Aug 2005
    Location
    Lockport, NY
    --
    2,395
    PART II :

    So now we can use the tools we have made up. Simple grease zerk fitting and an old bolt.

    Here is a short video of the process working. Again this is simple hydraulics.


    As you can see the caliper piston moves very easily with this process. There is alot of pressure here and It is the EASIEST,SAFEST, MOST COST EFFECTIVE way to remove a frozen piston.


    So many times I have seen guys heat calipers, use visegrips on the piston, or just straight up beat it with a . This is the best way IMO.

    Now that we have removed the frozen piston, it is time to take a look at the piston bore, and seal retention grooves. These grooves are almost always full of dirt and corrosion.


    This one was all of that indeed. Seals can removed with a simple pick set. The grooves and other important areas can be cleaned with these handy wire wheels that are made by dremel.


    To Be Continued......

  3. #3
    Join Date
    Aug 2005
    Location
    Lockport, NY
    --
    2,395
    PART III :

    I however prefer to sandblast my calipers. The come out looking so nice!


    The grooves in which the seals are seated come out looking brand new.


    It is also important to tap out the threaded holes in the caliper and mounting bracket. These threaded holes are usually metric and require a variety of taps.


    Since I apply my own powdercoat my next step would be to plug the existing holes with silicone plugs and use high heat tape on the piston cavity area.


    Here is the powdercoated product. Two coats of SUPER MIRROR black epoxy powdercoat. After the powdercoat process all the the mounting holes have been tap'd out again and champhered with a 82 degree countersink.


    To Be Continued......Caliper assembly process.
    Last edited by honda250sx; 06-23-2011 at 02:54 PM.

  4. #4
    Join Date
    Aug 2005
    Location
    Lockport, NY
    --
    2,395
    PART IV : The rebuild process.

    Now that the caliper is freshly powdercoated I can begin assembly of the caliper. I ALWAYS go with OEM parts and seals when it comes to calipers. When it comes to braking. Quality is top priority!


    Yamaha provides a Orange in color grease that is very slippery stuff. It works tremendously when installing the piston seals. Apply it generously to the seal and install it into the caliper body.


    Once the seal is installed it is time to install the piston itself. These pistons are 316 stainless pistons that Yamahondaman from 3ww machined. Use the grease and applicate it to the piston generously.


    Install the piston in the body. It should slide right in easily. This is where everyone always complains and says they cant get it in. Lubrication is your friend!
    Last edited by honda250sx; 06-23-2011 at 02:53 PM.

  5. #5
    Join Date
    Aug 2005
    Location
    Lockport, NY
    --
    2,395
    PART V :

    On all of the pins/sliding points (floating areas) of the caliper I use synthetic brake caliper grease. This grease can be purchased at all major auto parts retail stores. It resists all types of weather and holds up to the heat generated in braking routines.


    Once everything is grease and lubricated accordingly now it is time to install new caliper shoes. Just like on your automobile these calipers have shoes that the brake pads "ride" in. Most calipers that you will repair/rebuild will have these corroded/rusted/etc. It is essential to replace these shoes.


    Now that the shoes are snapped in and installed were on the home stretch. Its near completion and almost ready to be installed on the bike and bled.

    With the caliper still hung open install your brake pads. Again I go with OEM yamaha pads that are sintered. Once installed simply swing the caliper closed and install the final bolt that holds the caliper together. I use a blue thread locker (low strength) to insure that this bolt stays put. Apply the proper torque setting to the bolt and you are done with the exception of installing a new brake bleeder.


    I always replace the brake bleeders when I rebuild calipers. It is almost always overlooked. But if you are ever in the situation were your out on the trail and need to bleed your brakes quick its nice to have a good bleeder. When installing these I always put a little never-seize on the threads. So many calipers that I have rebuilt have had frozen bleeders. These are the ones that stop you from quickly bleeding your brakes on the trail. Most of the time are snapped off by frustrated rider/wrenchers. It is also a good idea to run a tap into these threads as well. Yamaha uses a 7mm x 1mm thread here. Once installed you are finally ready to install on your bike and ride! Simply hook up the brake line with the banjo bolt. Install NEW COPPER WASHERS, torque, and bleed the assembly.


    Hope this thread is useful to those of you wishing to tackle this job on your own. It is always crucial to have adequate braking components on your trikes and other vehicles. Without these systems in top notch working conditions your risking your life an others on the trail by not maintaining your equipment. TRIKE ON!
    Last edited by honda250sx; 06-23-2011 at 02:55 PM.

//ArrowChat Integreation Code //